Uploading Images and Fonts with the the Upload & Categorization Tool
The Upload & Categorization Tool is a way to both upload and assign tags, folder, or collections to the items you are uploading at the same time, saving you time and keeping your Assets organized.
Follow the steps outlined below to upload and categorize your assets with this tool:
1️⃣ Step 1: Click the Upload Images/Upload Fonts Button
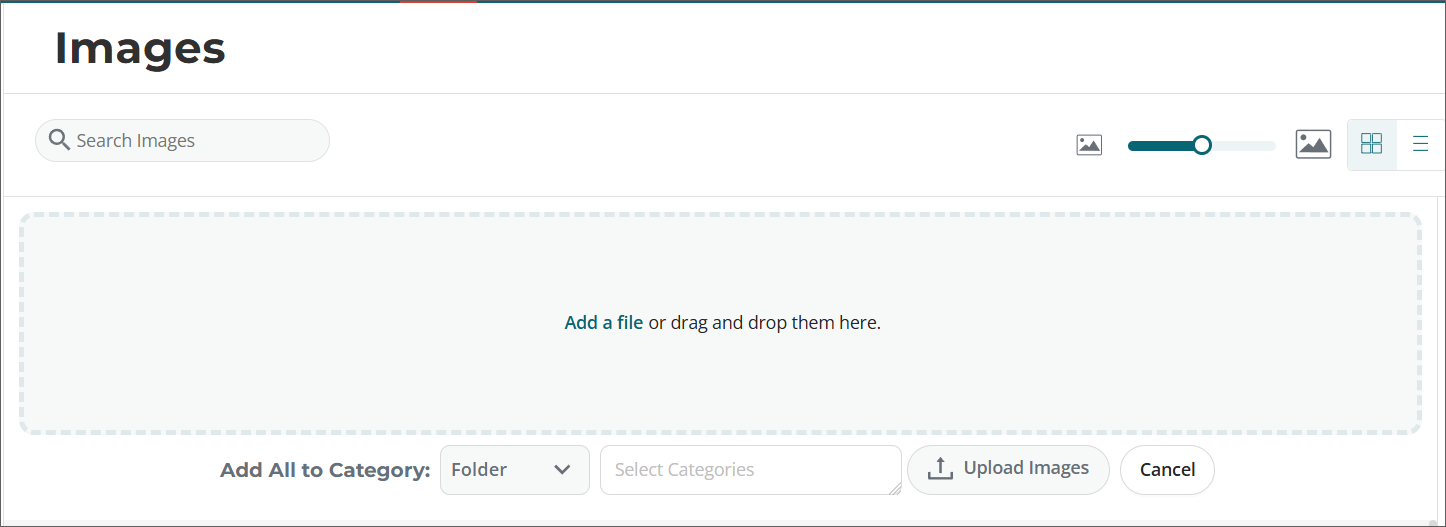
After clicking on the Upload Images or Upload Fonts button in the Assets area, you will see the Upload & Categorization Tool interface.
2️⃣ Step 2: Add Assets to Upload
Drag and drop the items you want to upload into the area outlined by the dashed lines or click where it says Add a file to browse and select the items for upload.
You can upload individual assets or zipped folders, however, assets in a zipped folder can not be individually categorized and will be categorized as a group instead.
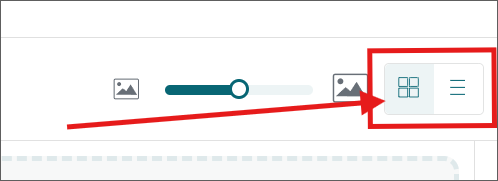
3️⃣ Step 3: Select Your View
Depending on the View you have selected, assets will either show as Thumbnails or in a List.
- Thumbnail View allows you to categorize all assets being uploaded as a group.
- List View allows you to assign different categories to each asset being uploaded.
Images default to the Thumbnail View and Fonts default to the List View. To change to a different View, use the buttons in the top right of the upload area shown below:
4️⃣ Step 4: Assign Categories
Categorize as a Group - Use the Add All to Category area to select the desired Category type (Folder, Collection, or Tag) and specific Category within that type.
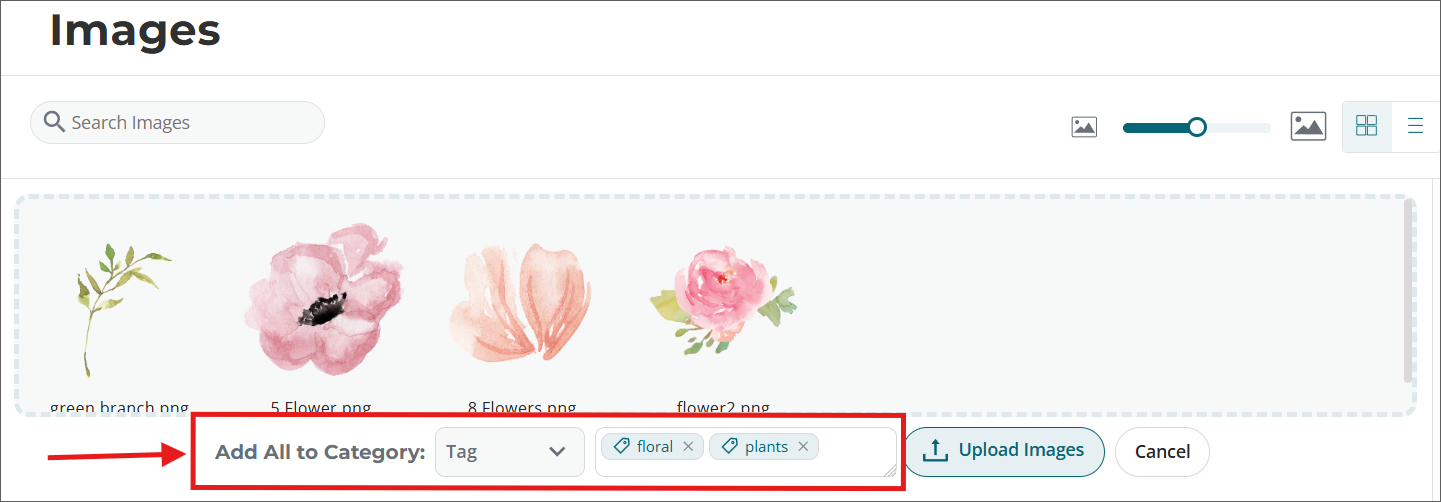
- Available in both Thumbnail View and List View.
- You can only assign using one category type (Folder, Collection, or Tag) for all of the assets using this option.
- You can add multiple categories within that type, however, by clicking on each desired option from the list.
Categorize Individually - To assign different categories for each asset being uploaded, make sure you are in the List View.
-
You will see text fields next to each individual asset in the upload area.
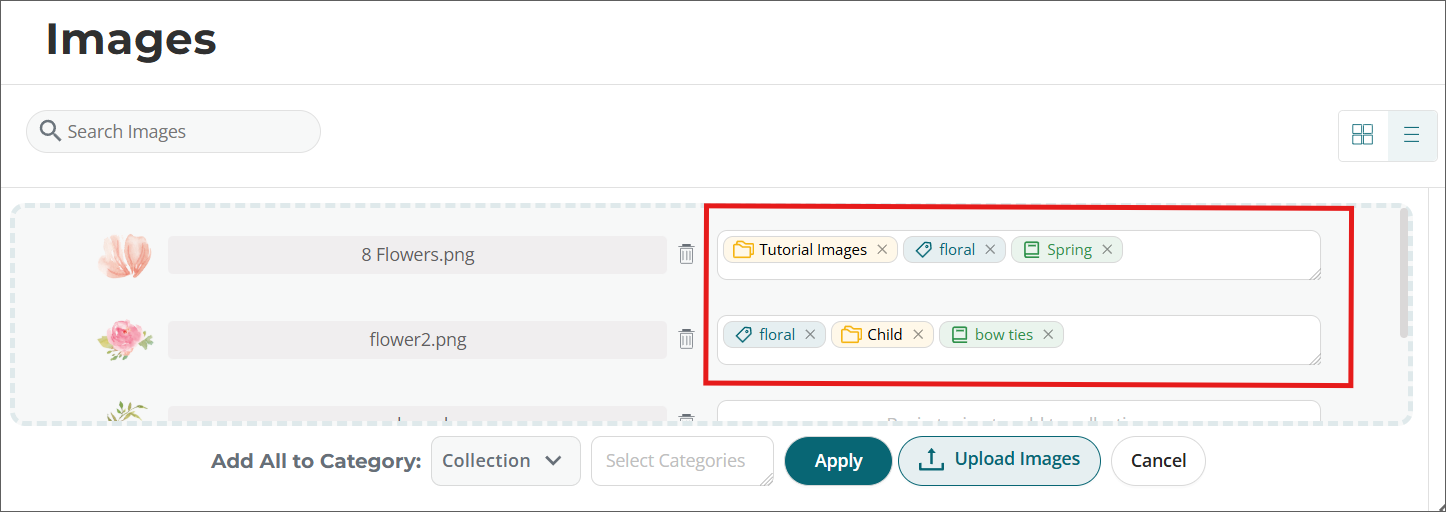
- Click in the text field to assign a category.
- The Category type shown in the Add All to Category area determines the current category options. Change the Category type selection using the drop-down menu to switch options.
- Use this method to assign different categories from different category types to the same asset.

5️⃣ Step 5: Click the Upload Images/Upload Fonts Button
This will finish uploading the assets and add them to your account. Your uploaded assets can now be found in their assigned categories.
💡 Pro Tip: To close the Upload & Categorization Tool, click the Cancel button.