Using Images in the Design Editor
You will find and upload images for your designs using the Images tab. When first creating a design in Corjl, you will notice in the viewing window that Corjl provides a selection of Standard Graphics which are free for use in both commercial and non-commercial designs.
⬆️ Uploading Images
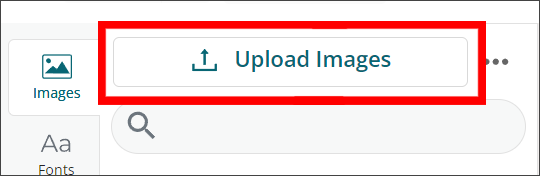
You can add your own images to the Images tab area by clicking on the Upload Images button at the top of the Images panel.
To add an image to the canvas, double-click the image, or click and drag it onto the canvas area.
🗃️ File Types
Upload images (up to 30 at a time) using the formats PNG, JPG, SVG or GIF. You can also upload images contained in a Zip File. Just drag and drop the zipped file folder into the upload area.
Note on SVG Image uploads: For better image management on the canvas, if the file size of an SVG is bigger 500KB (0.5 MB) or the number of colors is more than 40, the image will be converted to a PNG.
🔍 Viewing and Searching Images
Uploaded images will appear in the viewing area in the lower part of the Images panel. You can search for a specific image using the search field, or you can expand the Categories below the search field and select a specific category group of images to display as well.
💡 Pro Tip: Renaming, editing, deleting, tagging, and adding images to collections or folders can all be done in the Assets tab area.
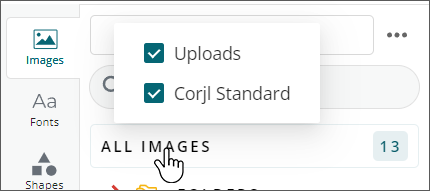
Once you have uploaded your own images, you can filter between the Corjl Standard graphics and your uploads by hovering over the All Images button. Select or deselect the options to filter the images in the viewing window.
Click on the three small dots (or “meatball” menu) next to the Upload Images button to open the slider to resize the thumbnails for your images.
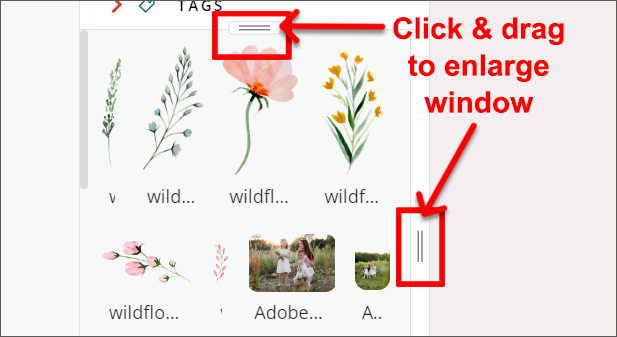
👓 Viewing Window Controls
You can enlarge the viewing window for your images by clicking on the “handle” icons with two lines found on the top and side of the window. Click and drag up on the top handle control to add height, and click and drag to the right with the side handle control to expand the window outward.
🖱️ Right-Click Options
Right-clicking on an image in the viewing window give you the following options:
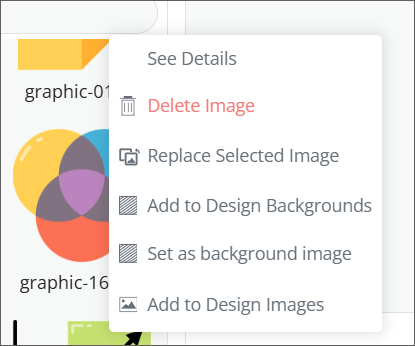
- Delete Image – Allows you to delete the image from both the Editor and Assets area.
- Replace Selected Image – This option shows when you have an image selected on the canvas. When selected, the image from your viewing area will replace the image that is selected on the canvas (please note, this only replaces the single image on the canvas—it is not a Global Replace option).
- Add to Backgrounds – Adds the image to the Backgrounds tab in the Customer Assets area for customers to use as a design background option.
- Set Background Image – This will set the selected image as the background for the current canvas.
- See details – Opens the Details page for the image in the Asset Manager in a new browser tab.
- Add to Customer Images – This option adds the image to the Customer Assets area for the design so it is available for your customers to choose from when personalizing their items.